
Ask an AI about this page
 ChatGPT
 Claude
 Perplexity
 Google AI Mode
 Microsoft Copilot
 Grok
Grok Mistral Le Chat
Create an event form
Updated

An event form is the page where customers buy tickets for your event. It holds the event’s name, date, venue and payment details, and its ticket types. You need the Event Management add-on: subscribe from Add-ons → Available Add-ons.
Before you start
Section titled “Before you start”Decide what kind of tickets you sell, because it sets the Event Type:
- Standard Ticket: no fixed seats, first come, first served. For seminars, workshops, fun runs and free-standing concerts.
- Reserved Seating: each buyer picks a seat on a seat plan. For dinners, theatre and seated concerts. See Set up reserved seating.
Create the event
Section titled “Create the event”Fill in the event’s details, then save it:
-
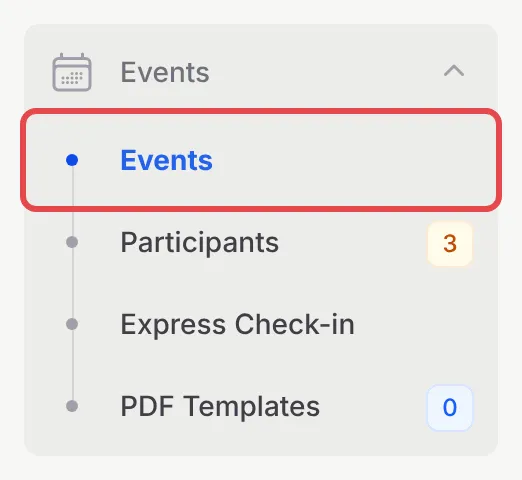
In the sidebar, go to Events → Events.
-
Click Create Form.

-
On the Event Information tab, enter the Event Name. BCL fills in the Event URL Slug for you; the event page opens at
https://<your-subdomain>.bcl.my/event/<slug>. Choose the Event Type and write a Description.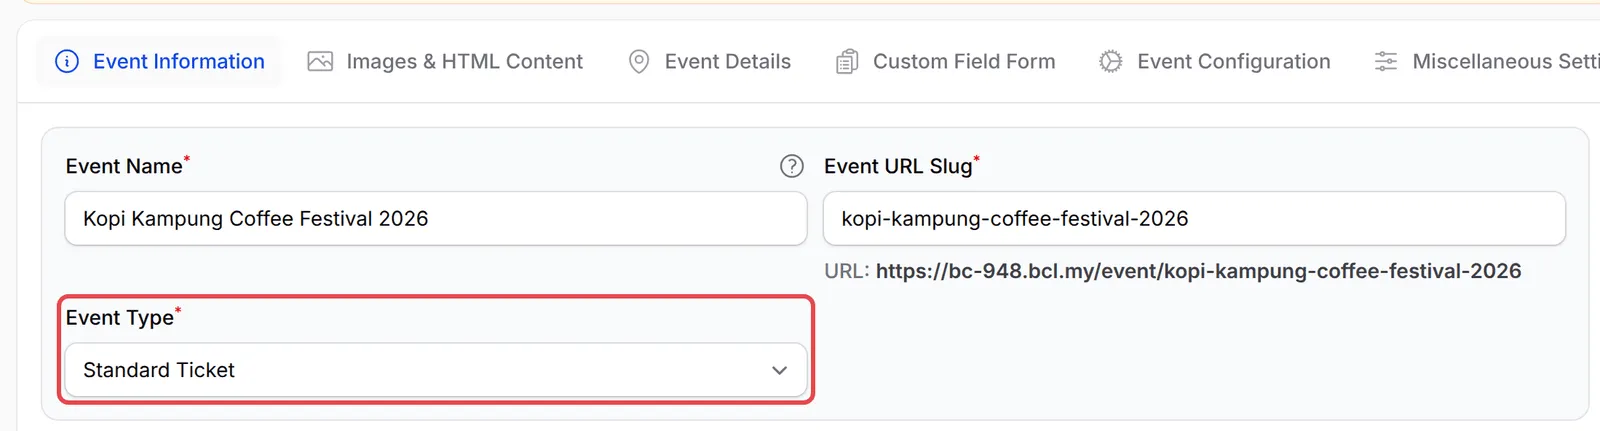
-
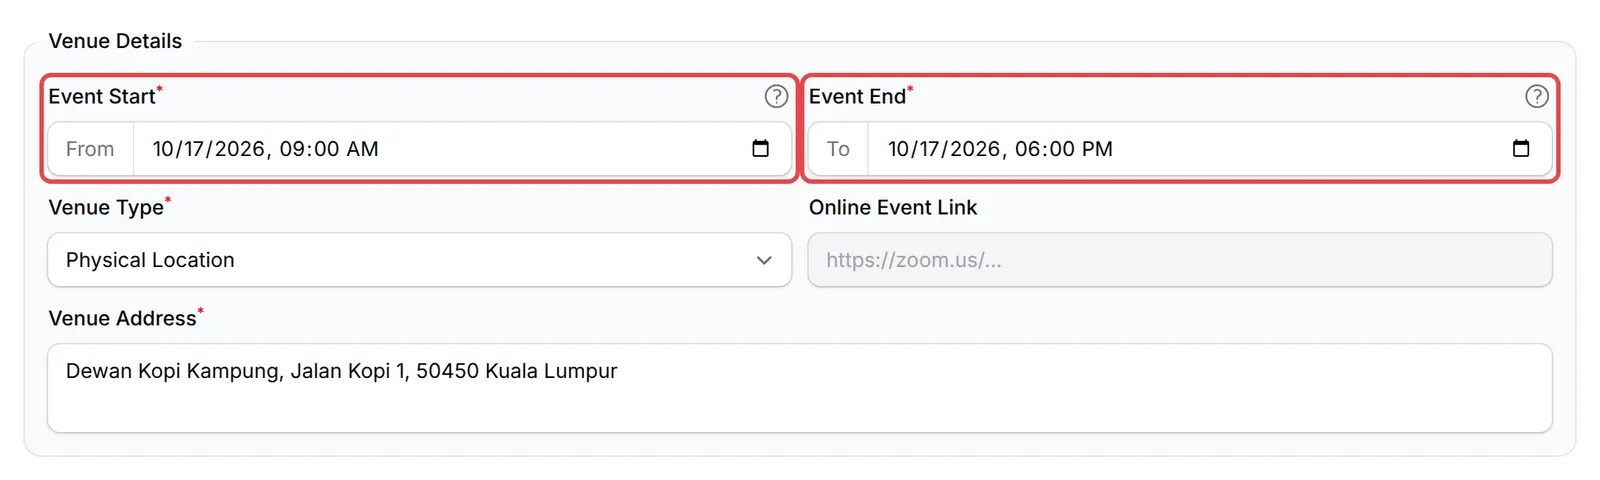
Open the Event Details tab. Set Event Start and Event End, choose the Venue Type (Physical Location, Online Event or Hybrid (Physical + Online)), then enter the Venue Address or the Online Event Link.
-
Under Payment Configuration, choose at least one Payment Option and a Classification Code for e-invoicing. Leave Portal Key and Payment Mode as they are unless you want this event to use a different Bayarcash portal or mode. You can also add an Organizer Email and Organizer Phone.

-
Under Event Tickets, enter a name and price for your first ticket type. See Add ticket types to an event.
-
Click Add Event.

Open your event page
Section titled “Open your event page”Your event appears on the Event Forms list. Click View Form in its row to see the page your customers see, and copy the link to share it.

After payment, each buyer gets an email with their ticket as a PDF, with a QR code for check-in.
A few settings save trouble on event day:
- Add images before you share the link. On the Images & HTML Content tab, set a Featured Image for listings and a Sales Page Image as the banner on the event page.
- Keep late buyers in mind. Registration closes when the event starts. Turn on Allow Late Registration on the Event Configuration tab if people buy at the door.
- Collect the details you need. On Event Configuration, choose what to ask each attendee in Attendee Details (If Required), or turn on Require MyKad / IC Number (Malaysian Only).
Common issues
Why does my event form close on the day the event starts?
Registration closes when the event starts. To keep selling after that, edit the event, open the Event Configuration tab and turn on Allow Late Registration, then click Update Event.
How many ticket types can I sell in one event?
Up to 20. An event form has one start and one end date, so for an event with several sessions on different days it is usually clearer to create one event form per session.
Do I have to start from a blank form?
No. Click Templates on the Event Forms page and pick the closest example, such as a workshop, gala dinner or charity run. See Start an event from a template.
Was this article helpful?
Thanks for your feedback.
Sorry this didn't help. WhatsApp us and we'll sort it out with you.