
Ask an AI about this page
 ChatGPT
 Claude
 Perplexity
 Google AI Mode
 Microsoft Copilot
 Grok
Grok Mistral Le Chat
Set up reserved seating
Updated
With reserved seating, each ticket type has its own seat plan, and customers pick numbered seats when they buy. Use it for dinners, theatre shows and seated concerts.
Turn on reserved seating
Section titled “Turn on reserved seating”Reserved seating is set for the whole event:
-
Go to Events → Events and click Edit on your event.
-
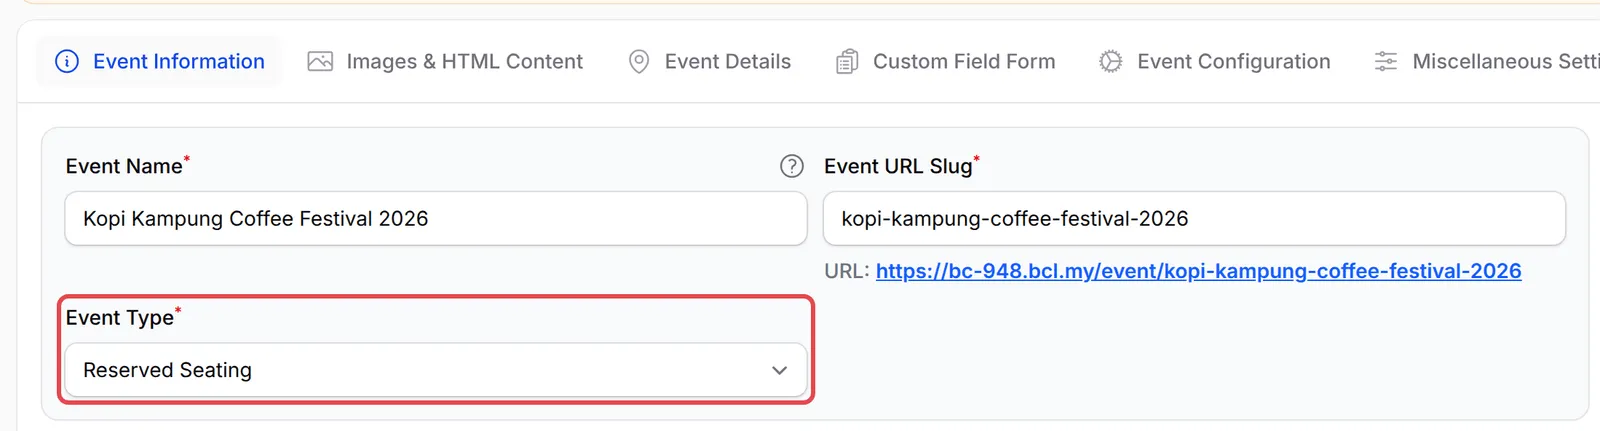
On the Event Information tab, set Event Type to Reserved Seating.
-
Make sure your ticket types are added, then click Update Event. The Seating button only works on ticket types that have been saved.
Draw a seat plan
Section titled “Draw a seat plan”Do this for every ticket type you sell. In a Reserved Seating event, a ticket type without a seat plan is not shown on your event page.
-
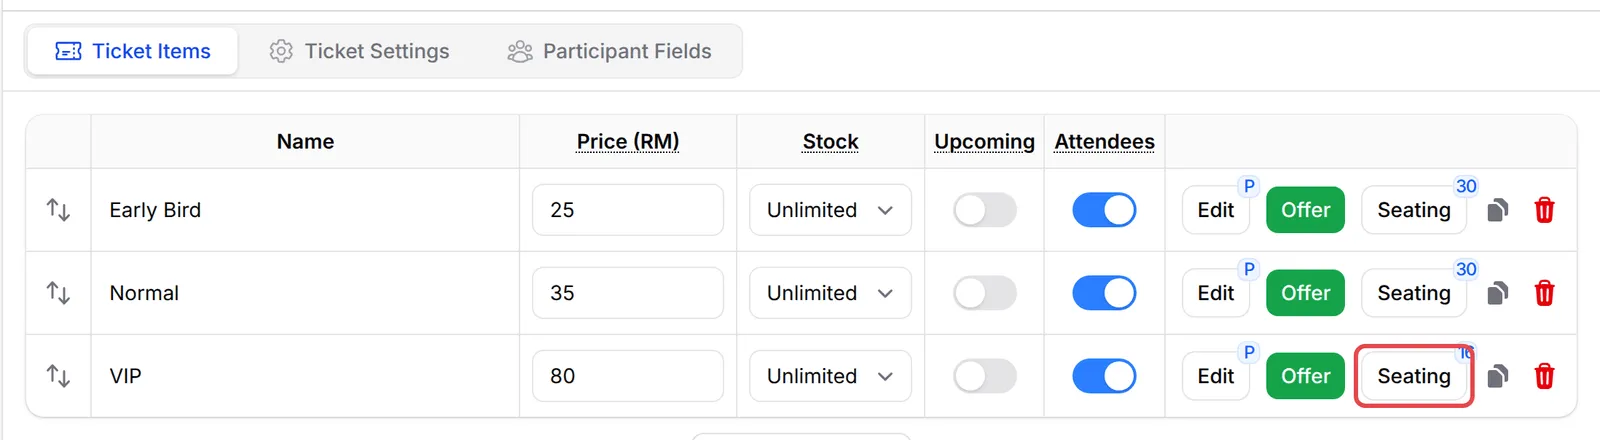
Under Event Tickets, click Seating on the ticket type. After you save a plan, the button shows how many seats it has.
-
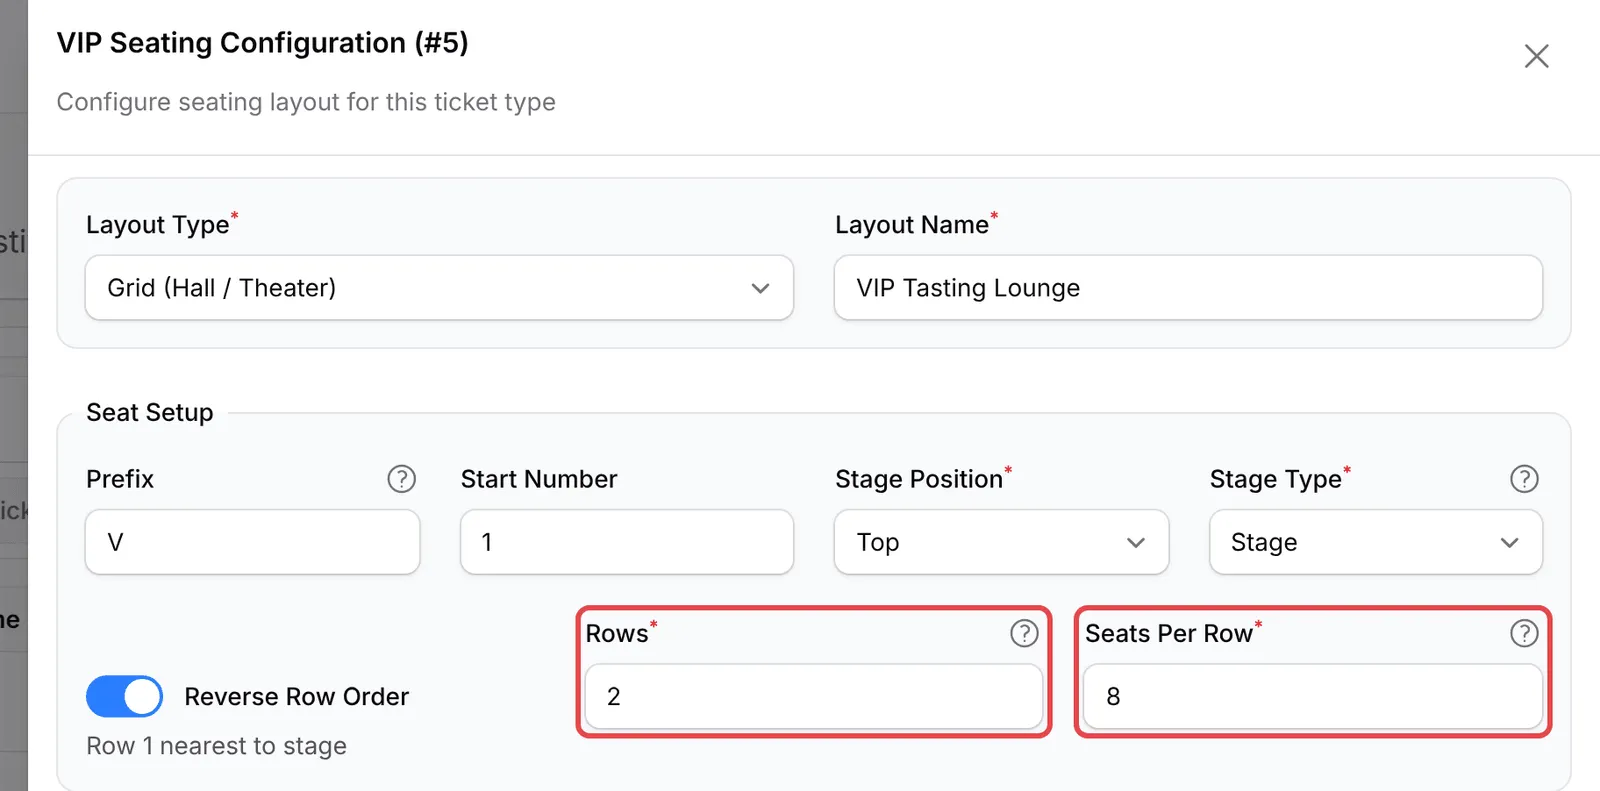
Choose the Layout Type: Grid (Hall / Theater) for rows facing a stage, or Pond (Left & Right Seating) for seats on both sides. Enter a Layout Name.
-
Under Seat Setup, set how seats are numbered with Prefix and Start Number, then set Stage Position, Stage Type, Rows and Seats Per Row.
-
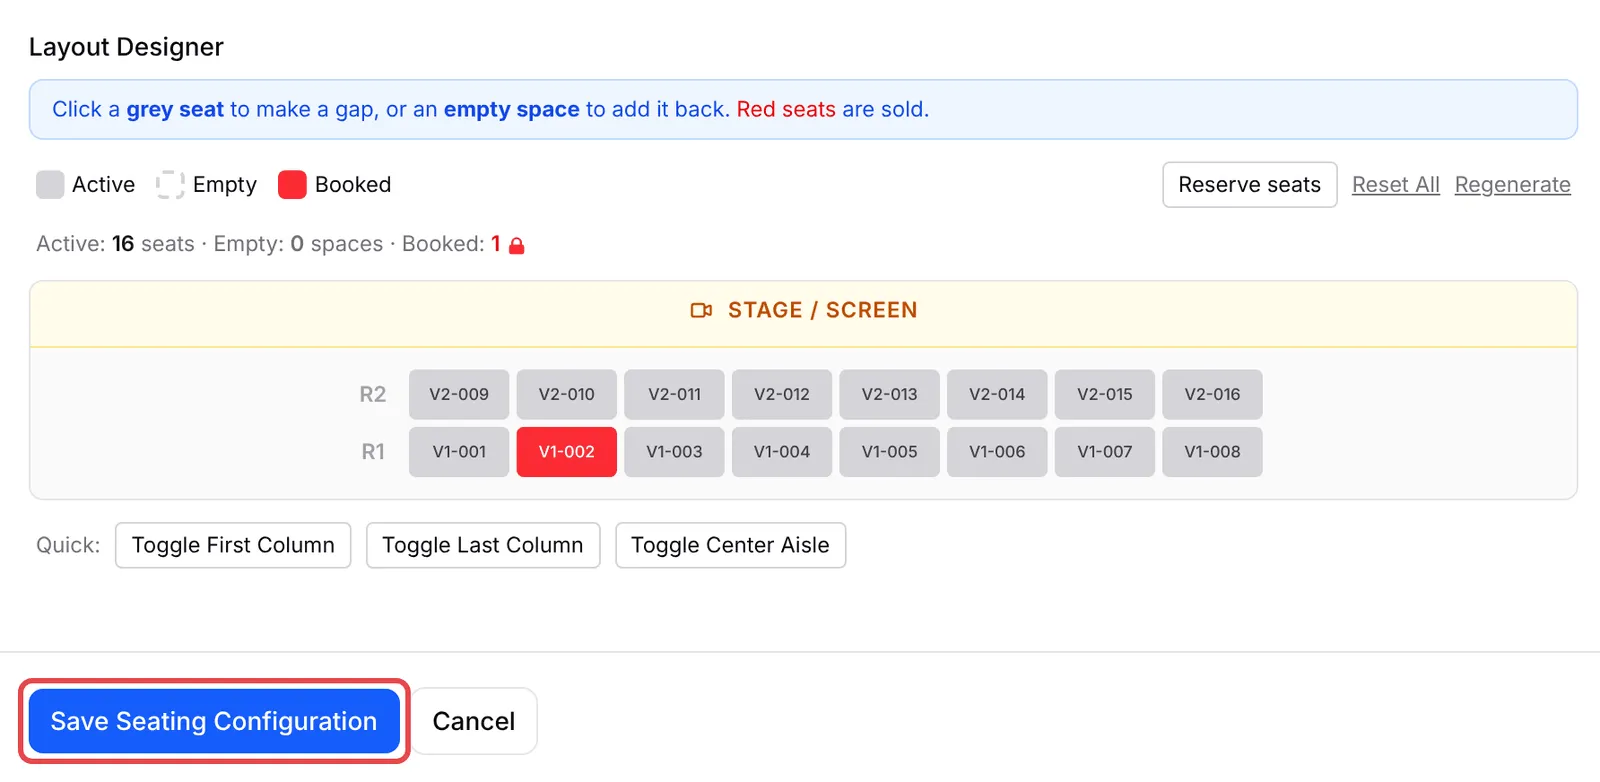
Check the plan in the Layout Designer. Click a grey seat to turn it into a gap, or click an empty space to add a seat back. Reserve seats holds seats that should not be sold. Seats already sold are red.
-
Click Save Seating Configuration. The plan is saved straight away.
Choose how a ticket maps to seats
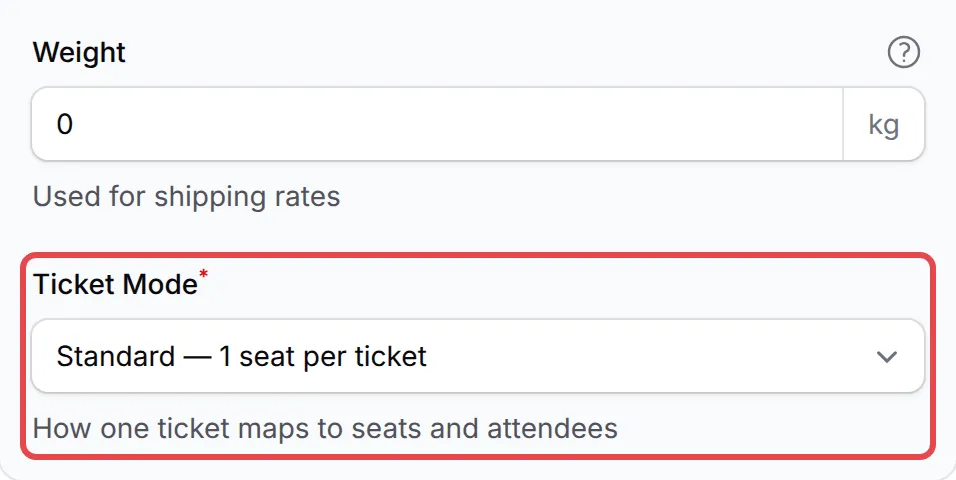
Section titled “Choose how a ticket maps to seats”Click Edit on a ticket type and choose a Ticket Mode:
| Ticket Mode | One ticket gives | Use it for |
|---|---|---|
| Standard | 1 seat and 1 attendee | Most events |
| Shared seat | 1 seat, several attendee names | Several people sharing one seat or space |
| Group bundle | Several seats, set in Seats Per Ticket | A table of 10, or “Buy 1 Free N” deals |
Click Update Ticket Settings, then Update Event.
What customers see
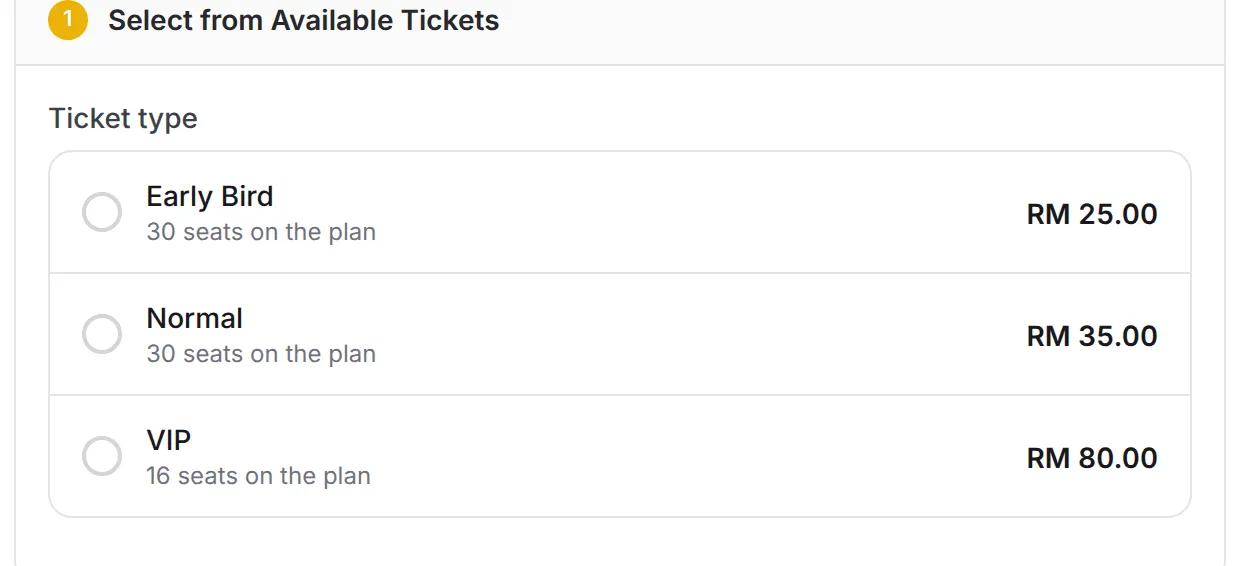
Section titled “What customers see”Your event page lists each ticket type with the number of seats on its plan. The customer picks a ticket type, chooses seats on the plan, and pays. Each seat becomes a participant with its seat number, for example V1-002.
Seat plans are easier to manage with a few habits:
- Add rows at the end, not the start. BCL will not save a smaller plan that would remove seats already sold, and shows Layout not saved. Add seats or rows at the end, or move those buyers first.
- Move a buyer to another seat from Participants. On the Participants page, click ⋮ on their row, then Move Seat.
- Use one prefix per plan. For example, A for Hall A and V for VIP, so seat numbers never repeat across ticket types.
Common issues
Can customers choose their own seats?
Yes. Set the event's Event Type to Reserved Seating, then click Seating on each ticket type to draw its seat plan. Customers pick seats on the plan when they buy.
Why is a ticket type missing from my Reserved Seating event page?
In a Reserved Seating event, only ticket types with a seat plan are shown. Click Seating on that ticket type and save a seat plan for it.
Can I sell one ticket for a table of 10?
Yes. Click Edit on the ticket type and set Ticket Mode to the Group bundle option (multiple seats per ticket), then set Seats Per Ticket to 10.
Was this article helpful?
Thanks for your feedback.
Sorry this didn't help. WhatsApp us and we'll sort it out with you.