
Ask an AI about this page
 ChatGPT
 Claude
 Perplexity
 Google AI Mode
 Microsoft Copilot
 Grok
Grok Mistral Le Chat
View and manage event participants
Updated

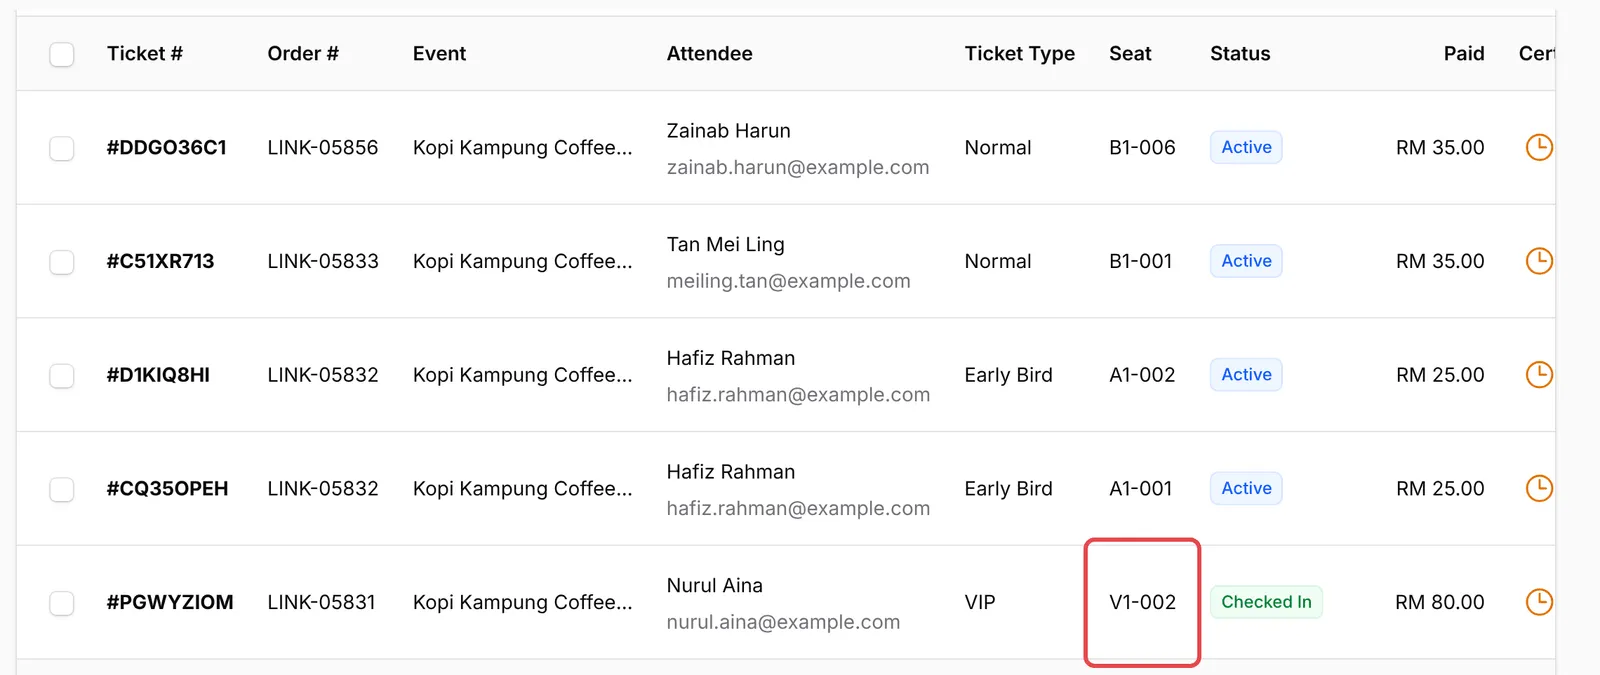
The Participants page lists every ticket sold, one row per attendee, across all your events. Each row shows the ticket number, order number, attendee, ticket type, seat, status and amount paid.
Open the participant list
Section titled “Open the participant list”To see who is coming:
-
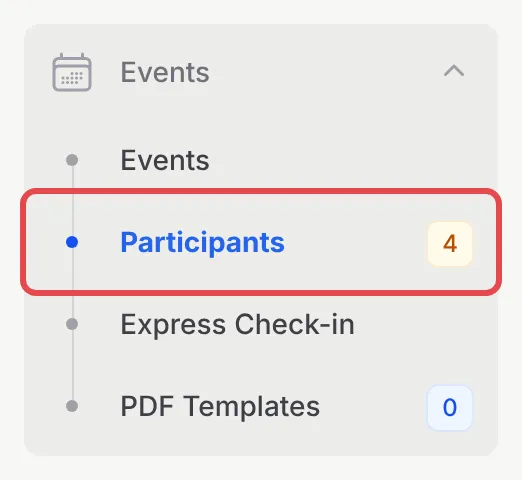
In the sidebar, go to Events → Participants.
-
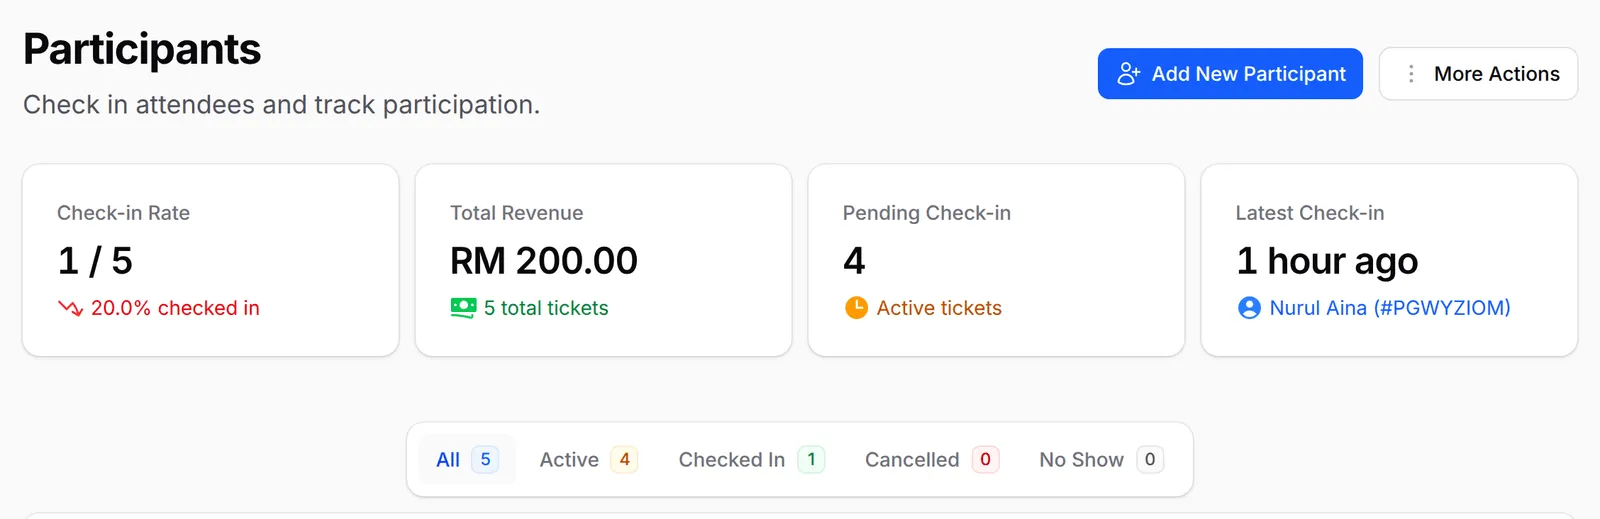
The cards at the top show the Check-in Rate, Total Revenue, Pending Check-in and Latest Check-in. Use the tabs to show All, Active, Checked In, Cancelled or No Show participants.
-
Search by name, email or ticket number, or click Filter to narrow the list by Event, Ticket Type, Check-in, Certificate and more.
To see one event only, you can also go to Events → Events, click ⋮ on the event’s row and choose Participants.
See or change one participant
Section titled “See or change one participant”Each row has its own menu:
-
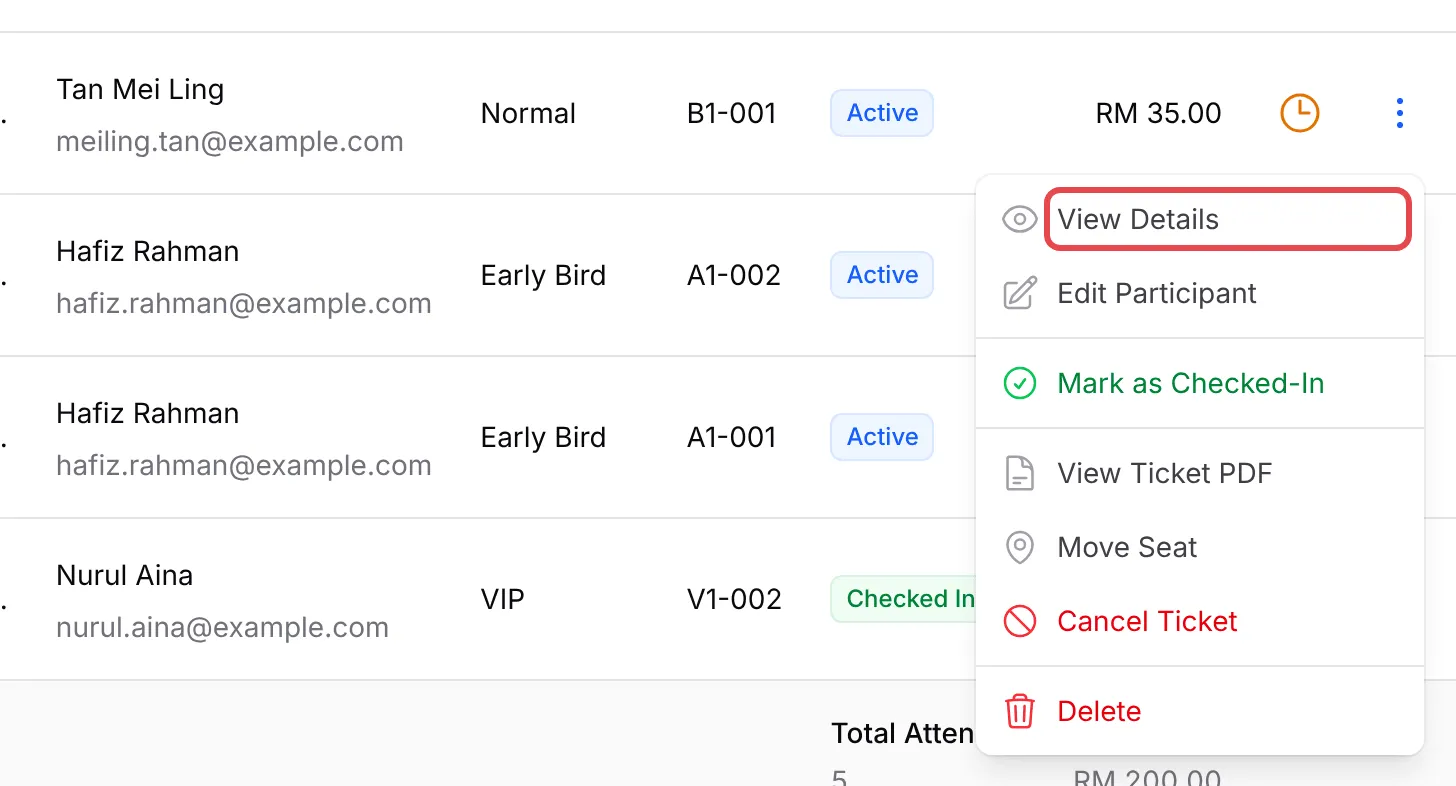
Click ⋮ at the end of the participant’s row.
-
Choose what to do:
Action Use it to View Details See the ticket, attendee, participant field answers, event and payment. Edit Participant Correct the attendee’s name, email or phone. Mark as Checked-In Check them in without the check-in page. View Ticket PDF Open the ticket with its QR code. Move Seat Give them another seat in a Reserved Seating event. Cancel Ticket Cancel the ticket, with a reason. 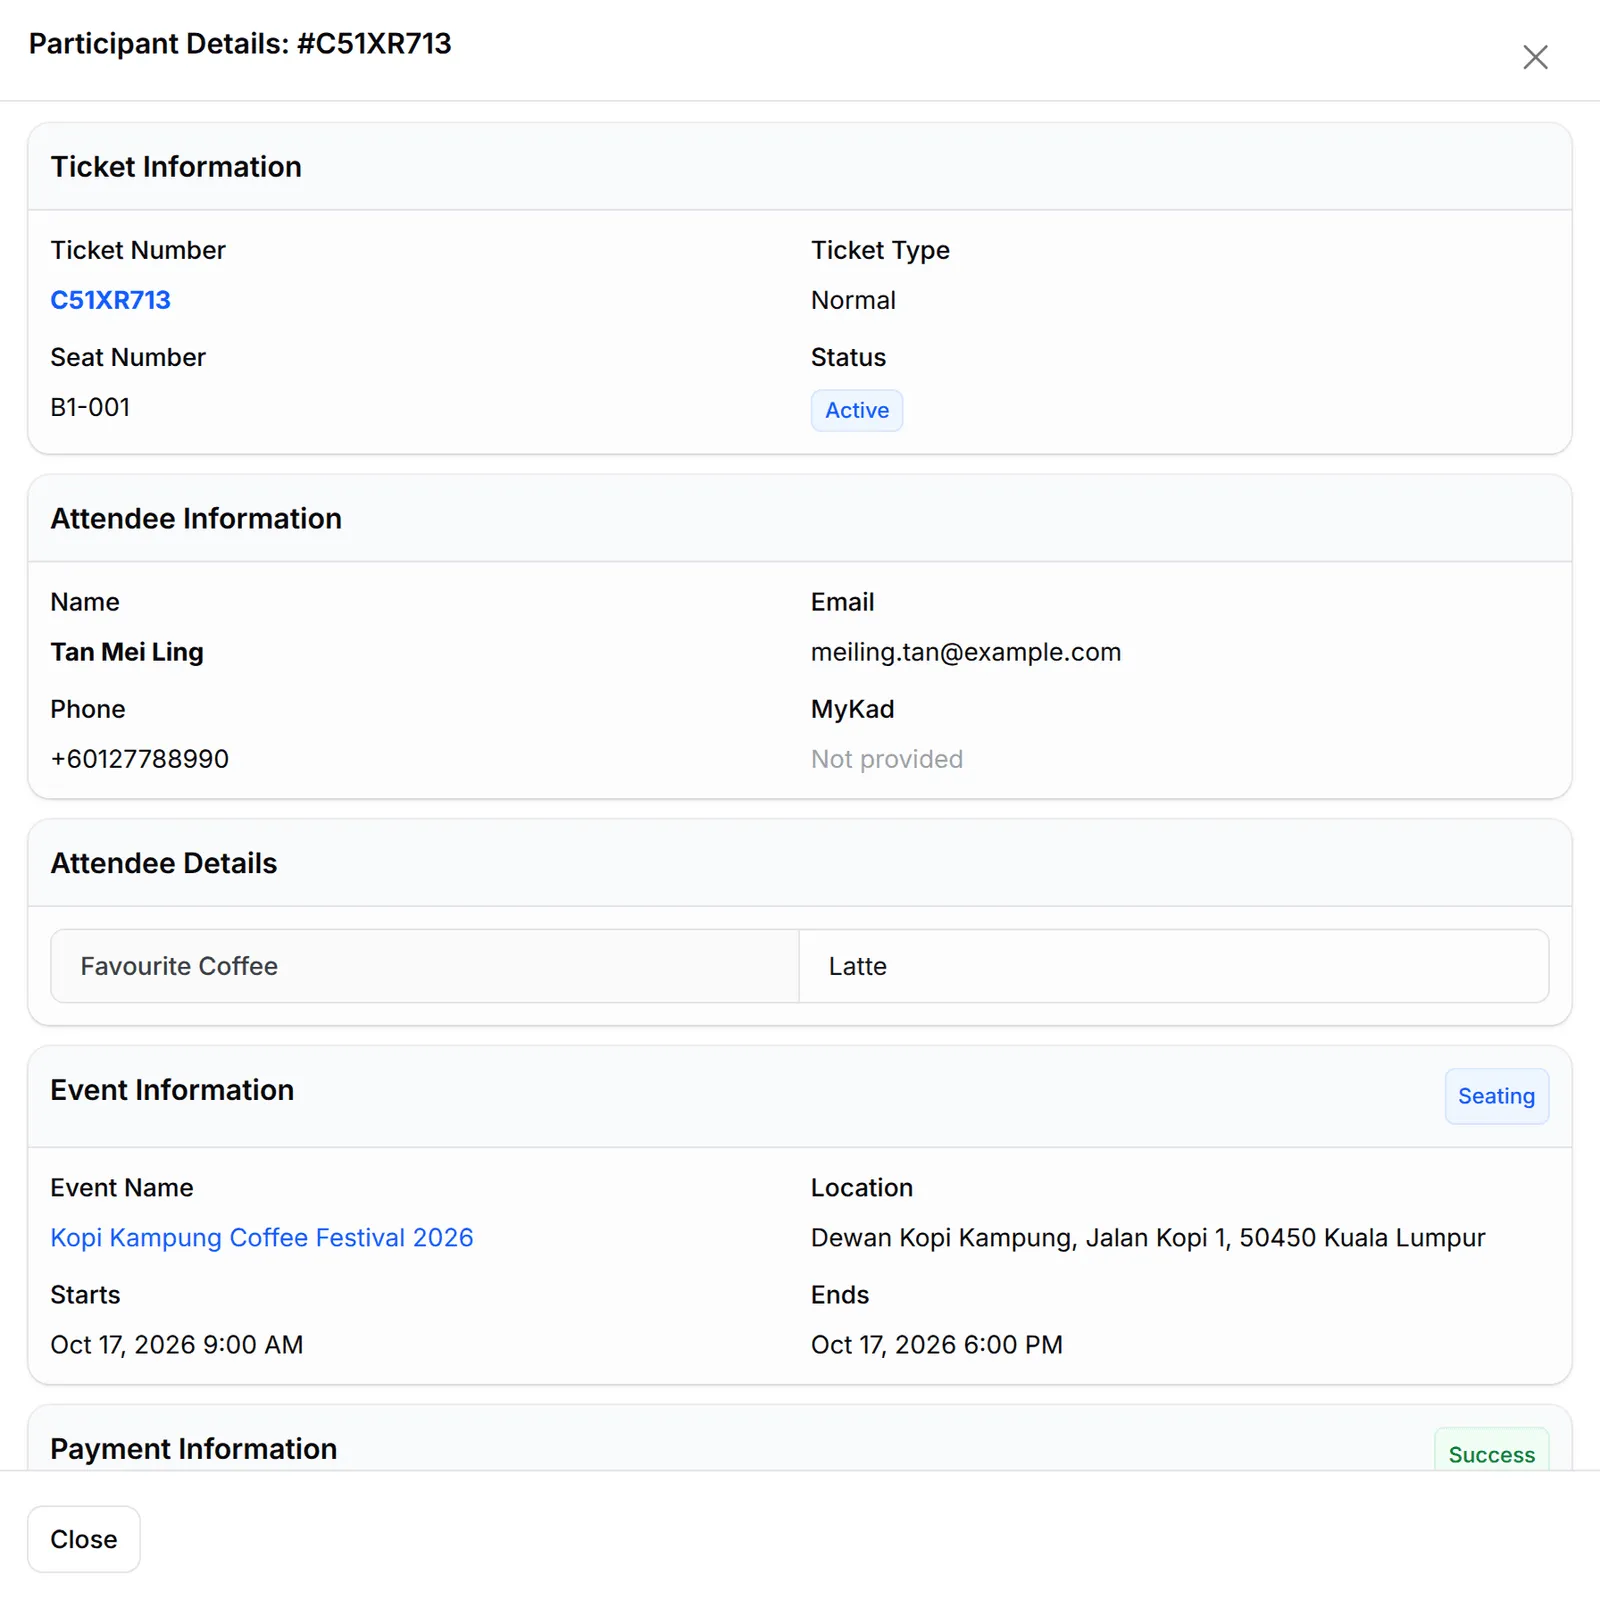
Add, import or export participants
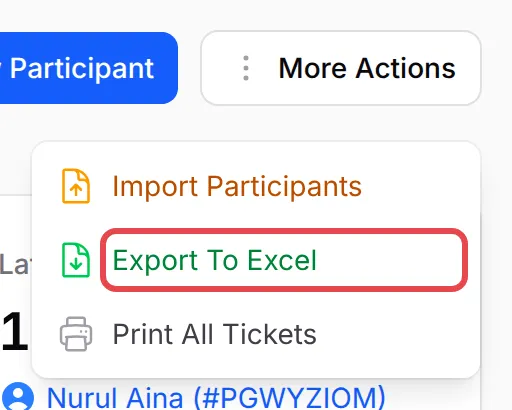
Section titled “Add, import or export participants”At the top of the page, Add New Participant adds one person by hand, for example someone who paid at the door. Under More Actions you can Import Participants, Export To Excel or Print All Tickets.
Two habits save time with long lists:
- Work on many rows at once. Tick the rows you need, then use Check-in to check them in, Certificates to issue certificates, or Manage to resend ticket emails, print tickets or export them.
- Export before the event. A spreadsheet of names, ticket types and seats is a useful backup at the door if the internet is slow.
Common issues
Where do I see the answers to my participant fields?
On the Participants page. Click ⋮ on a participant's row, then View Details. Participant fields are saved per attendee here, not on the transaction.
One order has three tickets. Why are there three rows?
Each ticket is one participant with its own ticket number, seat and check-in status. The Order # column shows which rows belong to the same order.
Can I add a participant who paid by cash?
Yes. Click Add New Participant at the top of the Participants page and fill in their details.
Was this article helpful?
Thanks for your feedback.
Sorry this didn't help. WhatsApp us and we'll sort it out with you.