
Ask an AI about this page
 ChatGPT
 Claude
 Perplexity
 Google AI Mode
 Microsoft Copilot
 Grok
Grok Mistral Le Chat
Control who can open your content
Updated

Every protected content has its own access rules: when it opens, how long it stays open, how many devices can use it, and whether it shows on the receipt. Buyers always confirm a one-time code before it opens. You set the rules under Access Control when you create or edit the content.
Choose when buyers can open it
Section titled “Choose when buyers can open it”On the content’s edit page, pick an Access Type under Access Control:
| Access Type | Buyers can open it | Also set |
|---|---|---|
| Immediate Access | From the moment they pay, with no end date | - |
| Scheduled Access | From Start Date & Time until End Date & Time, the same for every buyer. Leave the end empty for no end. | Start Date & Time, End Date & Time |
| Duration-based Access | For a number of days counted from each buyer’s own purchase | Access Duration (Days) |
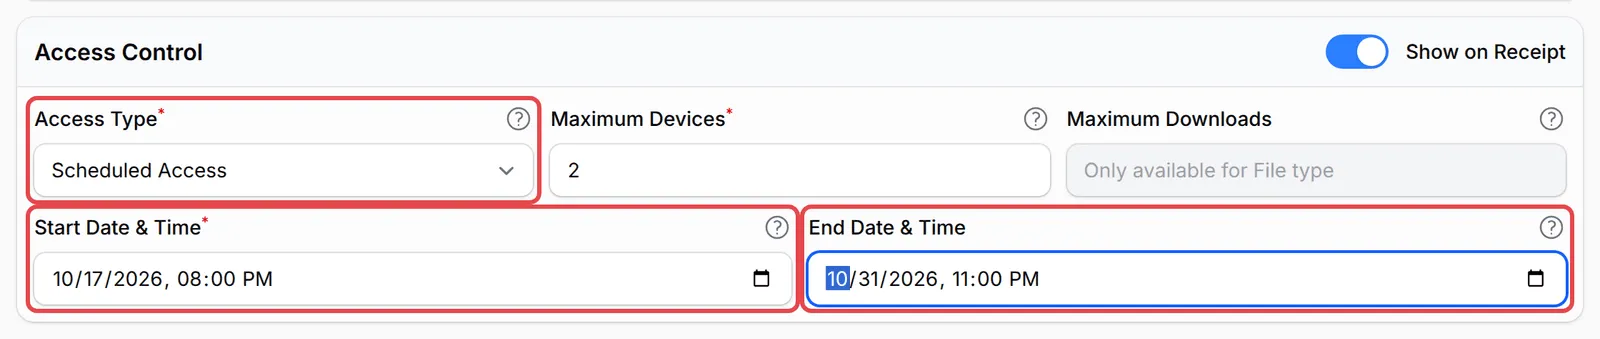
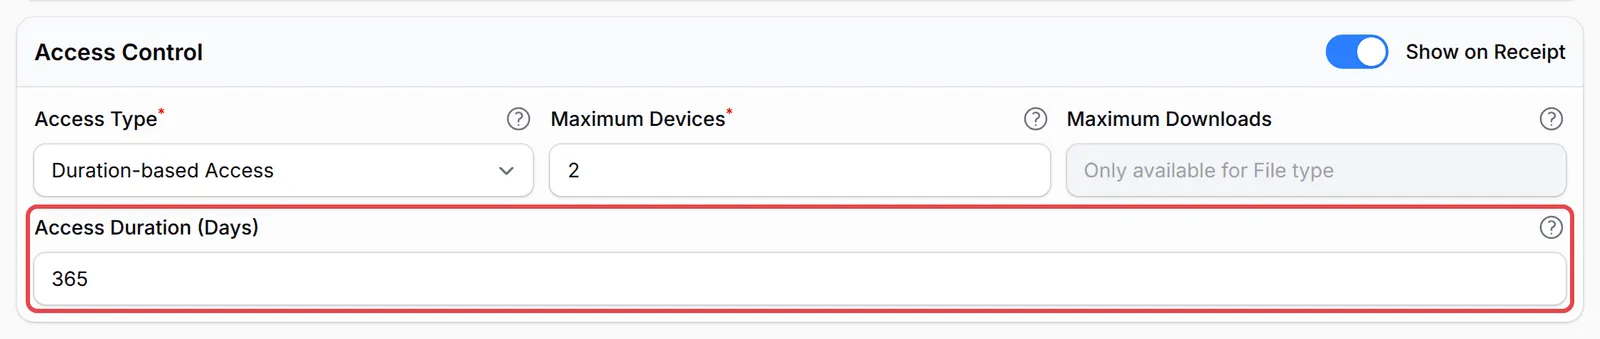
Before a scheduled start, the buyer’s link shows when the content opens. After the end, it shows Access Expired with the date. BCL checks for ended access every hour and marks it Expired in Customer Access.
Limit devices and downloads
Section titled “Limit devices and downloads”Two more fields sit next to Access Type:
- Maximum Devices: how many devices can use one buyer’s access at the same time. 0 means unlimited. A device stays counted for 24 hours after its last use.
- Maximum Downloads: for File content only, how many downloads each buyer gets in total. Leave it empty for unlimited. See Protect files.
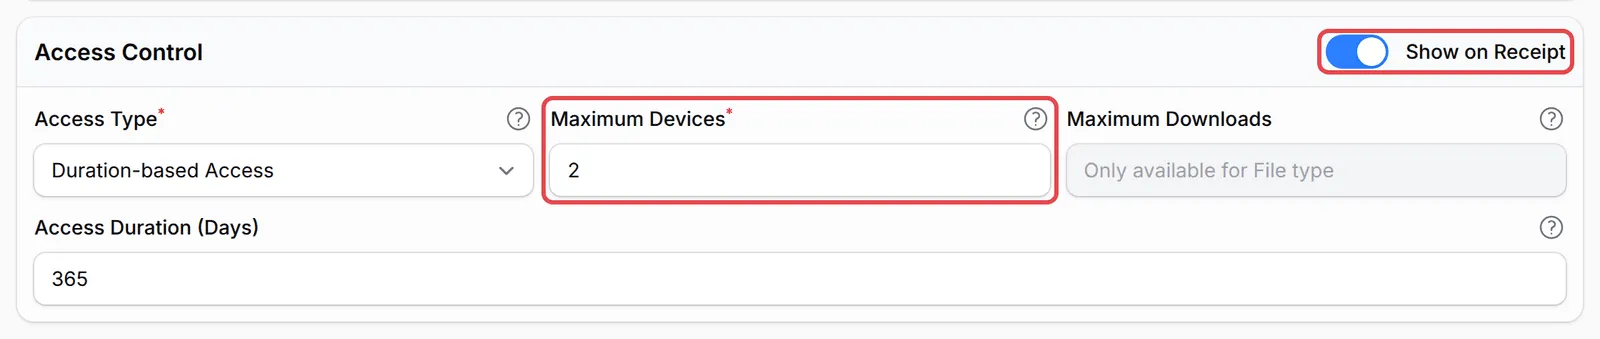
When a buyer opens their link on one device too many, they see Device Limit Reached. They can tap Switch to This Device to sign out their oldest device and continue.
Show it on the receipt
Section titled “Show it on the receipt”Turn on Show on Receipt at the top of Access Control. After paying, the buyer’s receipt opens a Your Content is Ready! window with a button for each piece of content, and the buttons stay on the receipt page. With it off, buyers still get the access email.
You can also switch Active and Show on Receipt straight from the list.
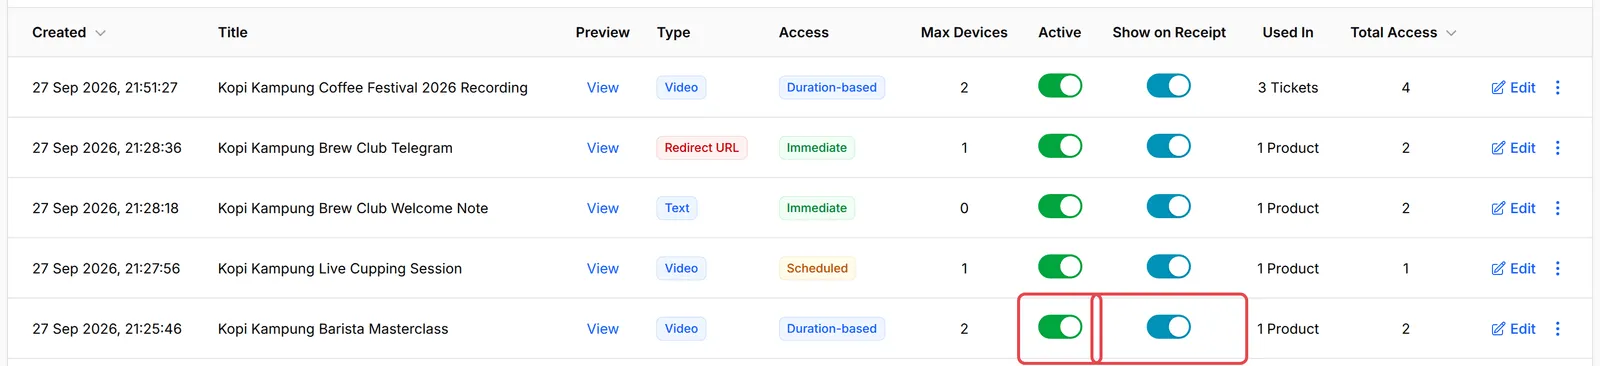
To change the button’s wording on a payment form, open the form and go to Advanced → Form Display, then fill in Protected Content Button Label.
Turn content on or off
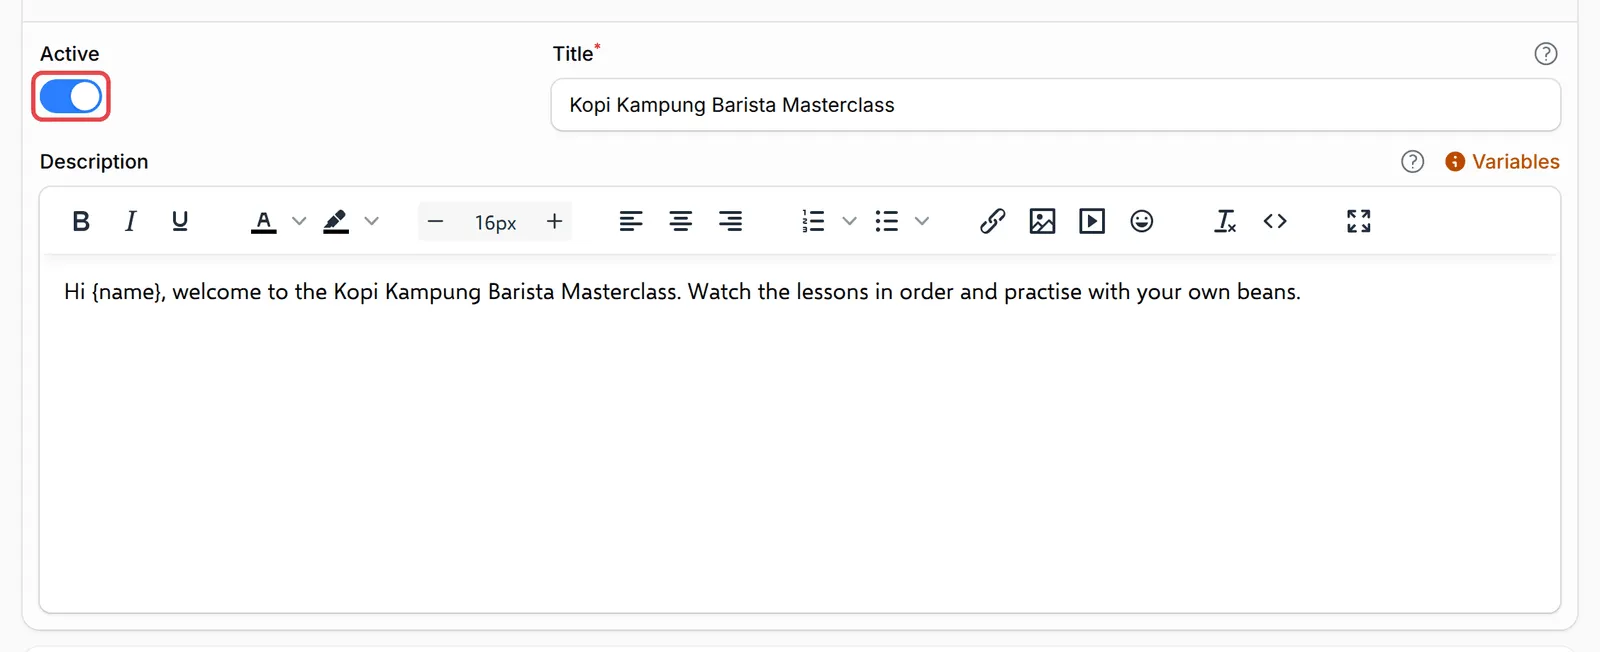
Section titled “Turn content on or off”Active, at the top of Basic Information, turns the content on for everyone. When it is off, buyers see Content Unavailable, and the content is left out of the list you pick from on items and tickets.
Email name and description
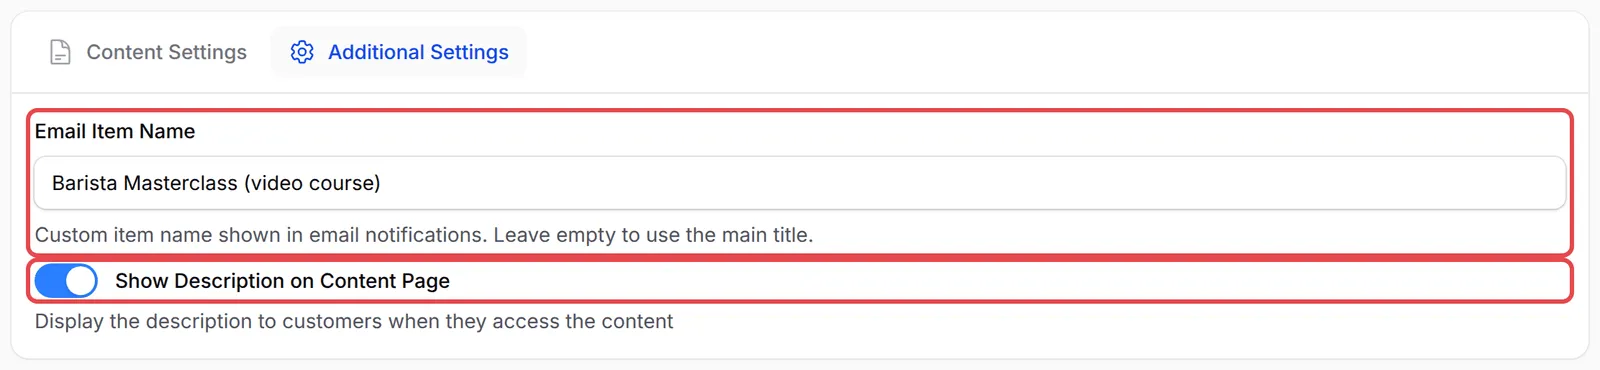
Section titled “Email name and description”The Additional Settings tab has two more options:
- Email Item Name: the name used for this content in the access email. Leave it empty to use the title.
- Show Description on Content Page: turn off to hide your Description from buyers, for example when it is a note for your team.
How the one-time code works
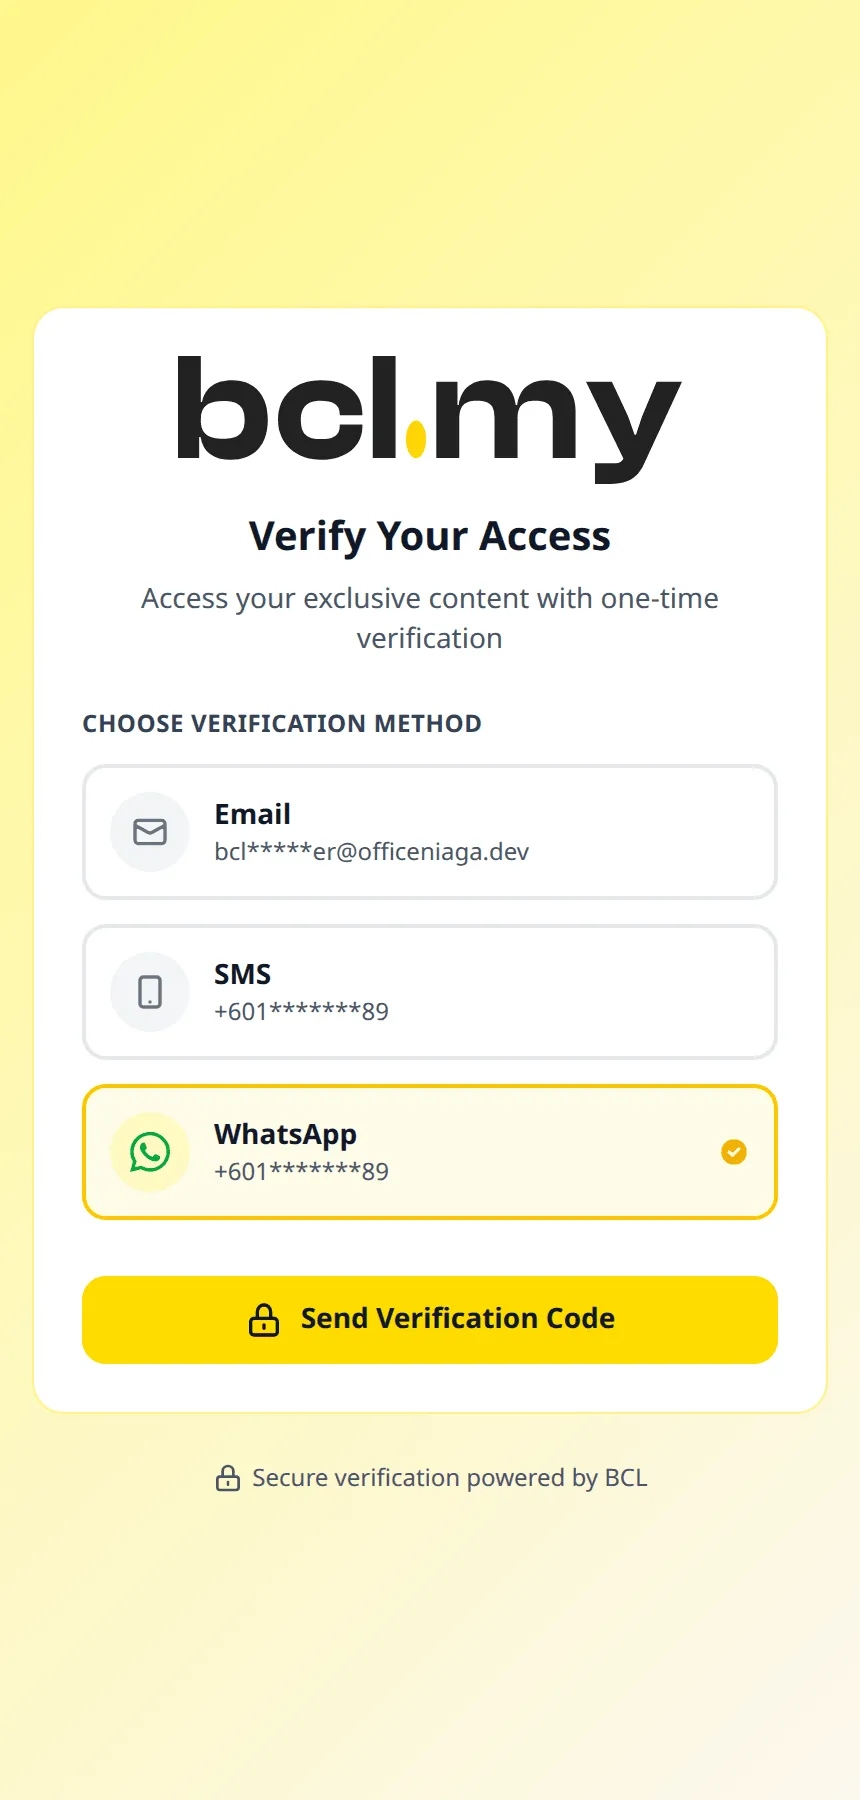
Section titled “How the one-time code works”The first time a buyer opens their access link on a browser, BCL asks them to verify:
- They choose where to get the code: Email, SMS or WhatsApp. Their email and phone are partly hidden. SMS is offered for Malaysian (+60) numbers.
- They tap Send Verification Code and enter the 6-digit code.
These rules apply to the code:
| Rule | Value |
|---|---|
| Code length | 6 digits |
| Valid for | 10 minutes |
| Wrong tries | 5, then they request a new code |
| New code | After 30 seconds |
The code cannot be turned off: it is what stops a link from being shared. Once verified, the browser stays signed in, so the buyer does not need a new code every visit.
Apply new settings to existing buyers
Section titled “Apply new settings to existing buyers”Each buyer’s start and end dates are worked out when they get access. If you change Access Type, the dates or the duration later, only new buyers get the new dates. To update everyone:
-
Click Save Changes on the content.
-
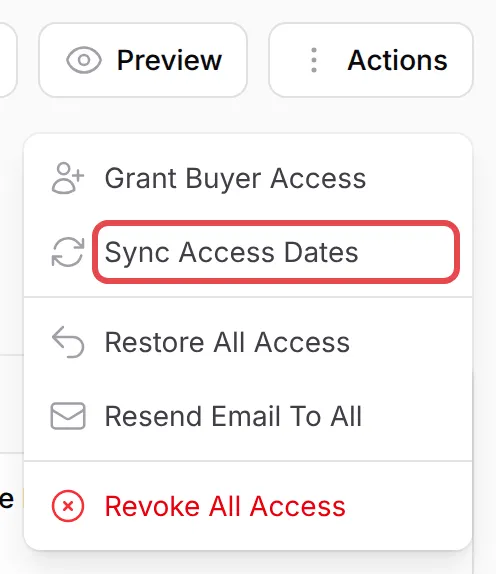
Open Customer Access at the top of the page, click Actions and choose Sync Access Dates.
-
Click Yes, Sync All.
Pick settings that match what you sell:
- Use Scheduled Access for events and Duration-based Access for courses. A live session opens for everyone at the same time; a course gives every buyer the same number of days.
- Keep Maximum Devices at 2 or more for courses. Buyers often watch on a phone and a laptop. Use 1 for live streams, where one pass should be one screen.
Common issues
My customer says they get a device limit message, but they only use their own phone.
Maximum Devices counts devices using the access at the same time, and a different browser on the same phone counts as another device. The buyer can tap Switch to This Device to sign out their oldest device, or you can use Logout All Devices on their row in Customer Access.
My customer did not receive the OTP. What can they do?
The code is always required. On the verification page they can choose Email, SMS or WhatsApp, and request a new code after 30 seconds. Ask them to check spam for the email, or to pick another method.
I changed the access dates. Why do earlier buyers still have the old dates?
Each buyer's dates are set when they get access. After changing the settings, open Customer Access, click Actions and choose Sync Access Dates to apply the new settings to everyone.
Was this article helpful?
Thanks for your feedback.
Sorry this didn't help. WhatsApp us and we'll sort it out with you.