
Ask an AI about this page
 ChatGPT
 Claude
 Perplexity
 Google AI Mode
 Microsoft Copilot
 Grok
Grok Mistral Le Chat
Add customers to Mail Niaga mailing lists
Updated

Mail Niaga is Web Impian’s email marketing service. Connect it to BCL, then use an automation to add each customer who pays, each new lead or each new affiliate to a Mail Niaga mailing list. You then send newsletters and follow-ups from Mail Niaga.
Connect Mail Niaga
Section titled “Connect Mail Niaga”You need a Mail Niaga account (mailniaga.com). BCL works with both versions:
| Version | Dashboard | What you copy |
|---|---|---|
| Mail Niaga v1 | newsletter.aplikasiniaga.com | API Key and Brand ID |
| Mail Niaga v2 | manage.mailniaga.com | API Token |
-
In the sidebar, go to Platform Setup → Integrations and open the Mail Niaga (Automation) tab.

-
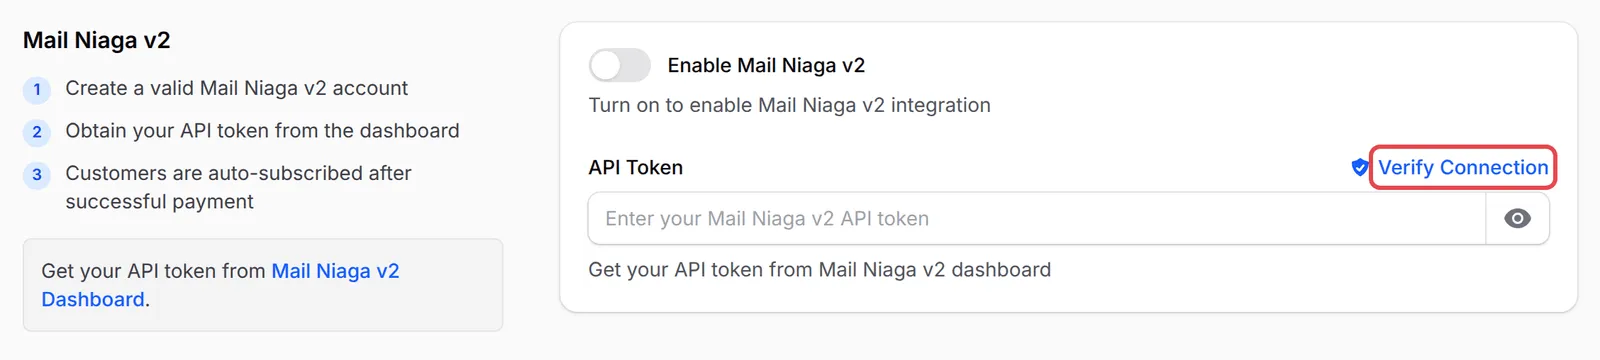
In the section for your version, turn on Enable Mail Niaga v2 or Enable Mail Niaga v1.
-
For v2, paste your API Token and click Verify Connection. BCL shows Connection Successful with the number of mailing lists it found.
-
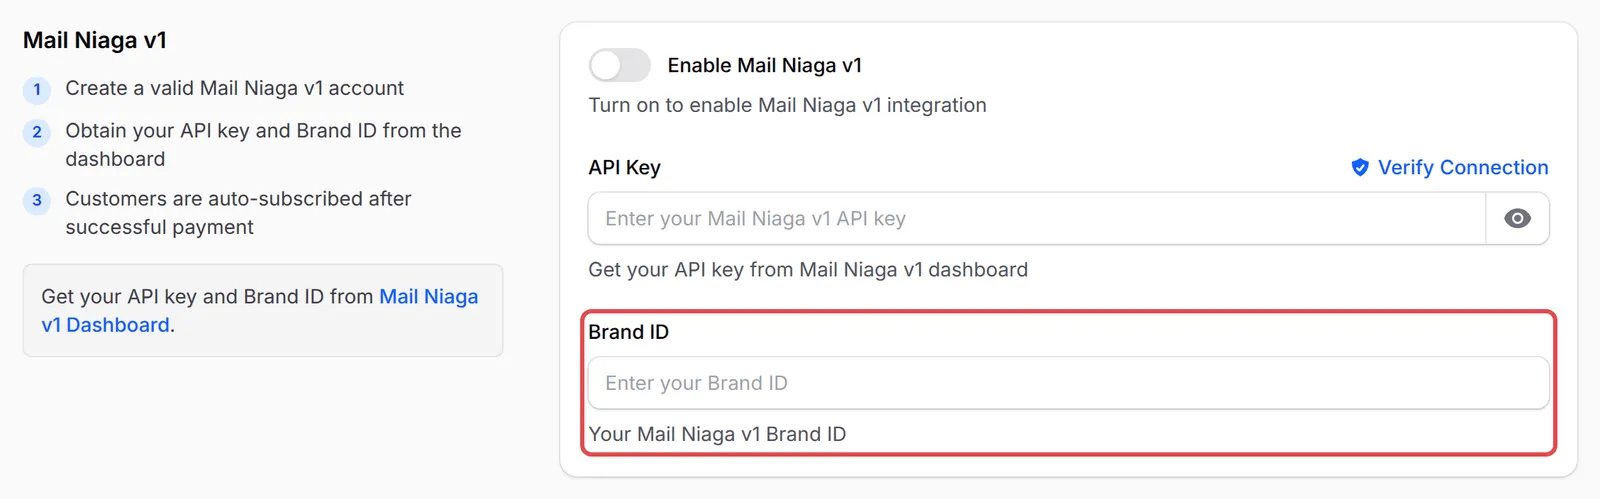
For v1, paste your API Key, fill in your Brand ID, then click Verify Connection.
-
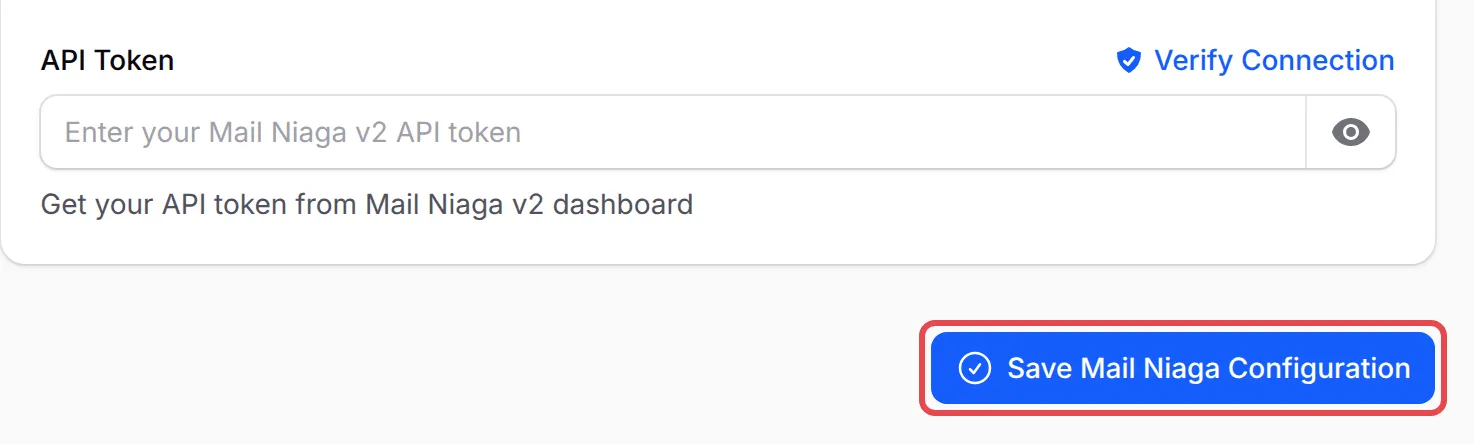
Click Save Mail Niaga Configuration.
Add people to a list with an automation
Section titled “Add people to a list with an automation”Create an automation with the trigger that fits, such as Payment Successful for customers, New Lead Received for leads or Affiliate Joined for affiliates (see Create an automation). Then:
-
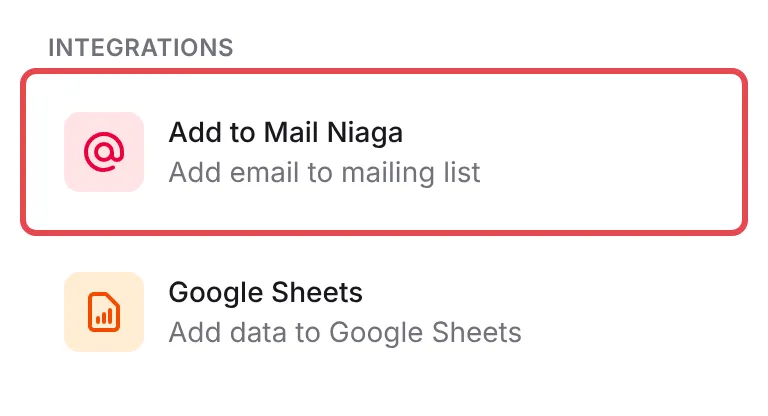
In the workflow builder, add an action and pick Add to Mail Niaga under Integrations.
-
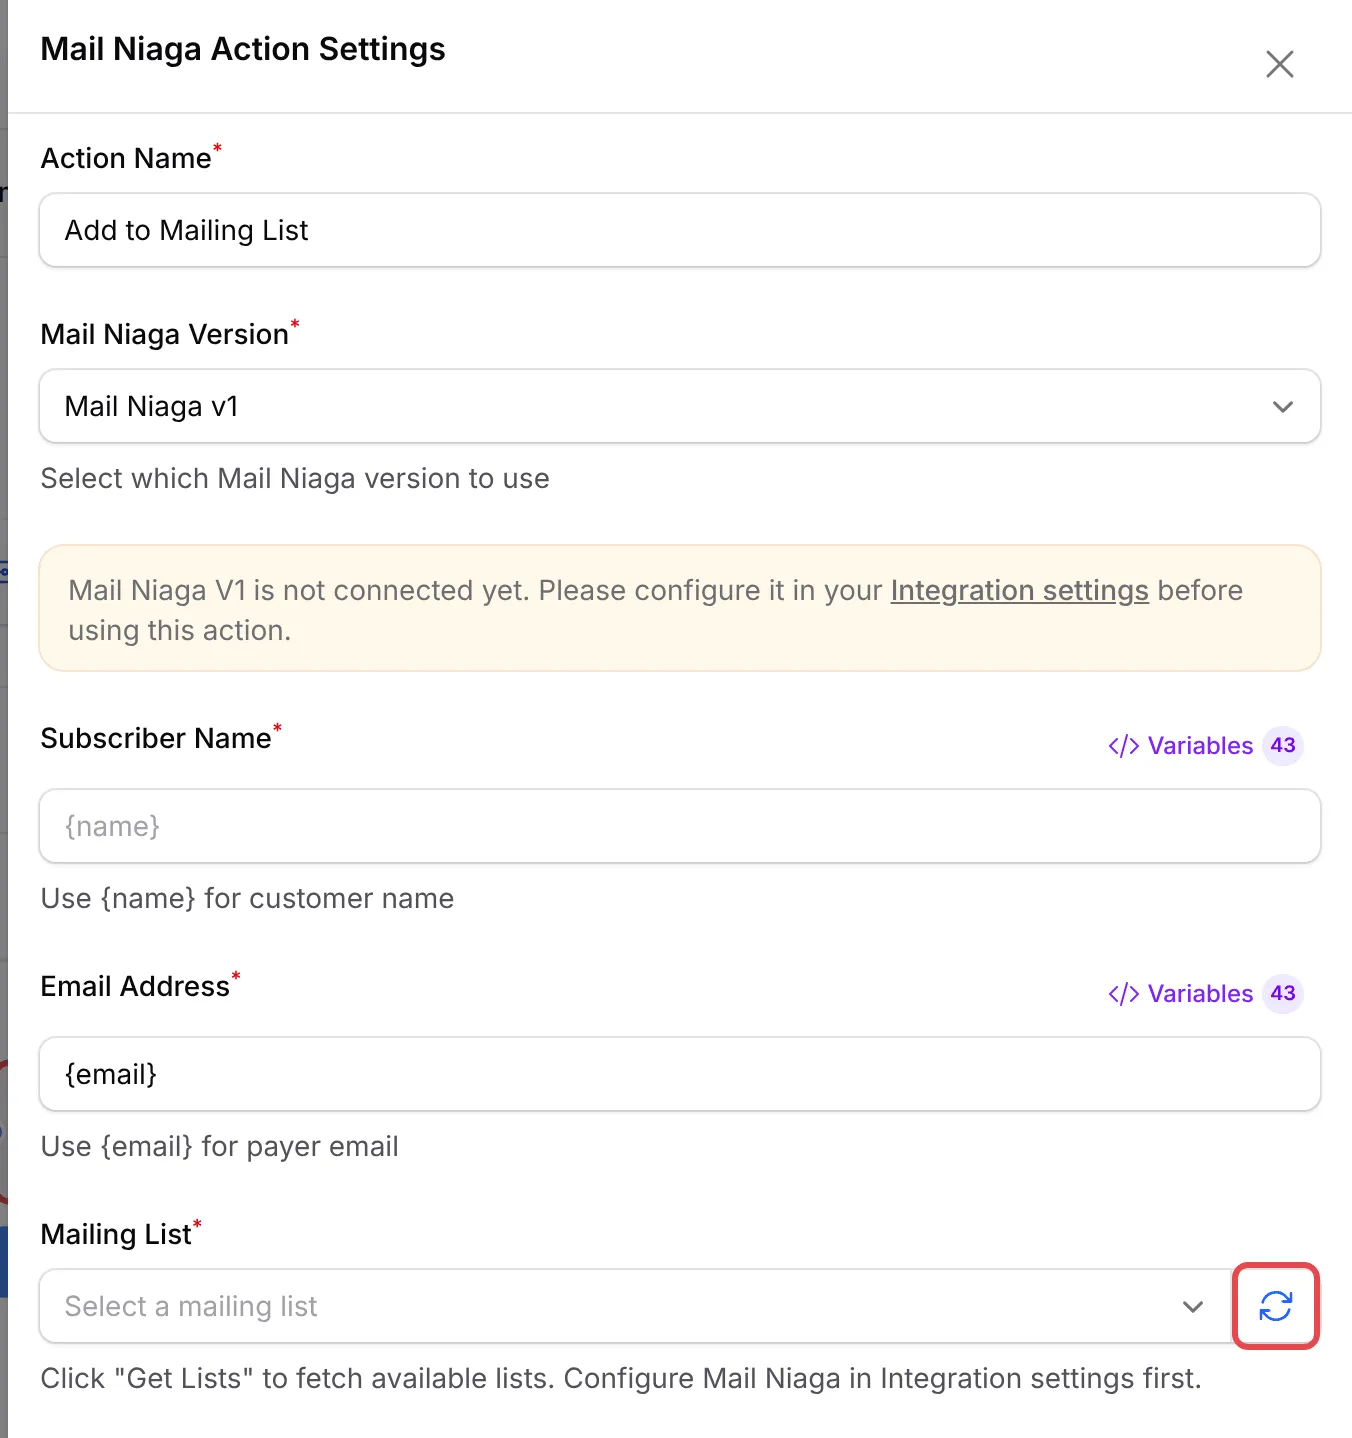
Double-click the new step to open Mail Niaga Action Settings and pick your Mail Niaga Version.
-
Keep
{name}in Subscriber Name and{email}in Email Address, or click Variables to pick other fields. -
Click the refresh icon next to Mailing List to load your lists, then pick one.
-
Optional, v2 only: under Custom Field Mapping, click Add Field Mapping to fill other list fields, such as a phone number, from a variable.
-
Optional: enter your own Test Email and Test Name, then click Test Add Subscriber to check the step adds you to the list.
-
Click Save Mail Niaga, then save the automation and check it is switched on (the button at the top says Deactivate).
A little planning keeps your lists useful:
- Start from a template. The Welcome New Affiliate template already has an Add to Mail Niaga step; see Welcome new affiliates.
- Use one list per purpose. Adding buyers, leads and affiliates to separate lists keeps your newsletters relevant and makes unsubscribes easier to manage.
- Check Automation History when a contact is missing. Each run shows whether the Add to Mail Niaga step succeeded or the error Mail Niaga returned. See Automation history.
Common issues
I connected Mail Niaga but no customers appear in my list. Why?
Connecting Mail Niaga does not add anyone by itself. Create an automation, for example with the Payment Successful trigger, and add an Add to Mail Niaga step that points at your Mailing List.
Should I use Mail Niaga v1 or v2?
Use the one your account is on. Mail Niaga v1 accounts sign in at newsletter.aplikasiniaga.com and need an API Key and Brand ID; Mail Niaga v2 accounts sign in at manage.mailniaga.com and need an API Token.
The Mailing List field is empty in my automation. What do I do?
Click the refresh icon next to Mailing List to load your lists. If nothing loads, check that the version you picked in Mail Niaga Version is connected and saved under Platform Setup → Integrations → Mail Niaga (Automation).
Was this article helpful?
Thanks for your feedback.
Sorry this didn't help. WhatsApp us and we'll sort it out with you.