
Ask an AI about this page
 ChatGPT
 Claude
 Perplexity
 Google AI Mode
 Microsoft Copilot
 Grok
Grok Mistral Le Chat
Triggers, conditions, delays and actions
Updated

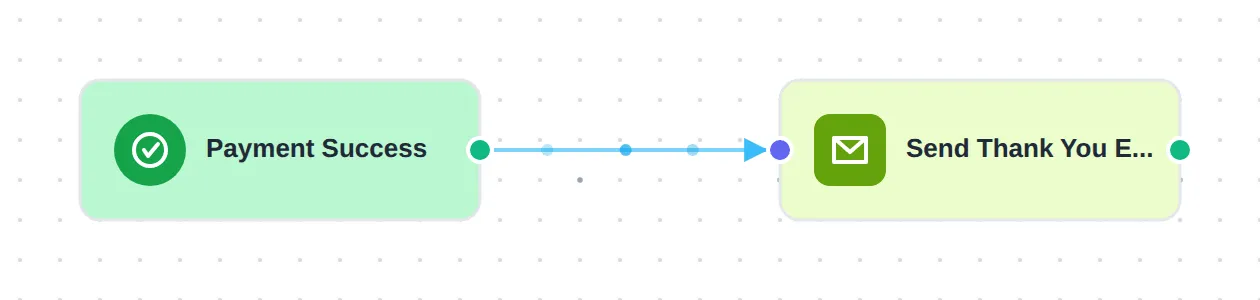
Every automation is a workflow on a canvas. It starts with one trigger, the event that sets it off, followed by the steps BCL runs in order: conditions that decide whether to carry on, delays that wait, and actions that do the work.
Triggers
Section titled “Triggers”A trigger listens for one event. Each automation has exactly one, and you choose it when you click Select an Event on a new automation.
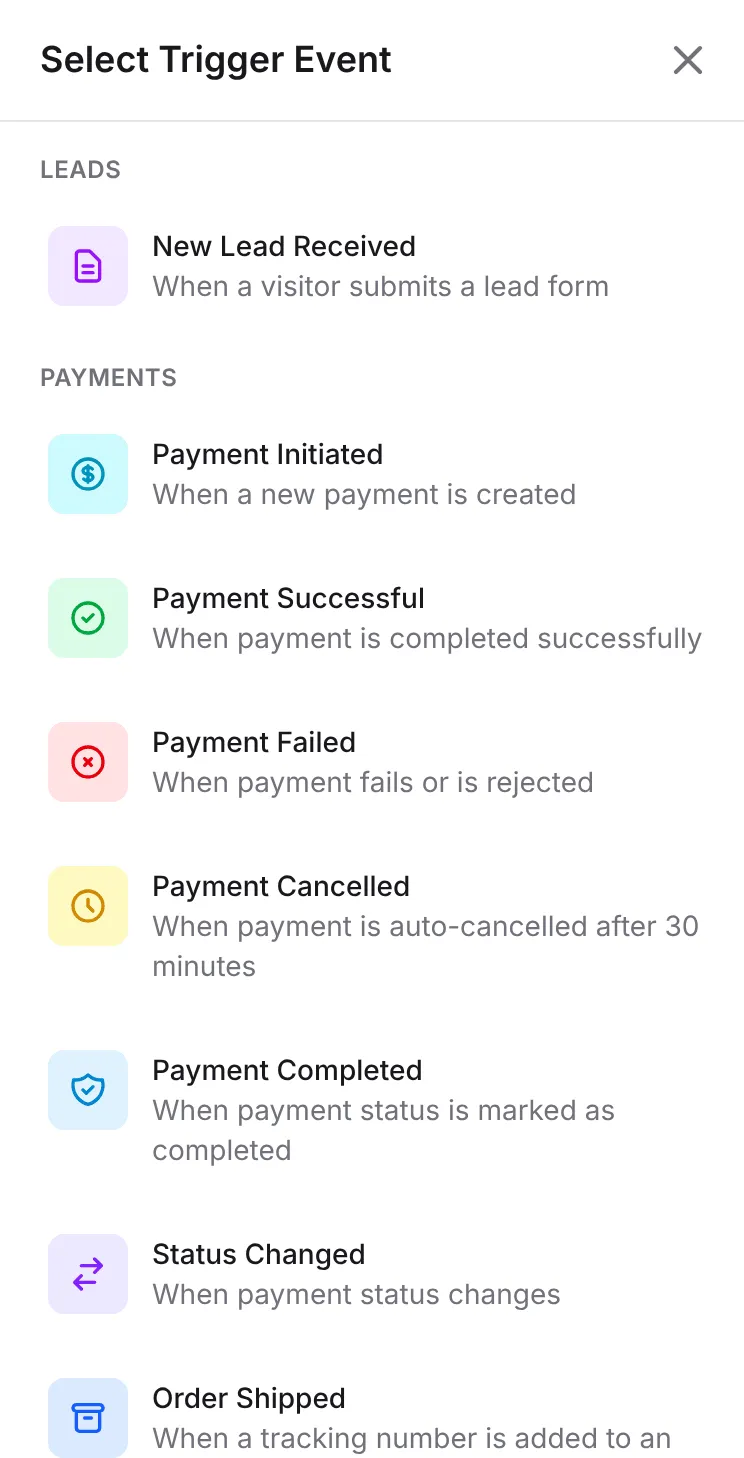
The triggers come in four groups:
| Group | Triggers |
|---|---|
| Leads | New Lead Received |
| Payments | Payment Initiated, Payment Successful, Payment Failed, Payment Cancelled, Payment Completed, Status Changed, Order Shipped |
| Events | Participant Created, Participant Checked In, Certificate Generated |
| Affiliate | Referral Approved, Referral Rejected, New Affiliate Registered, Payout Requested |
In each trigger’s settings you can limit it to some forms. Leave the form list empty to run for all forms. On the Automations list, the Trigger type column uses slightly different names, such as Transaction Success for Payment Successful and Form Submitted for New Lead Received.
See Automation triggers for what each one sends to the next steps.
Actions
Section titled “Actions”Click a node on the canvas and then Add Node to add the next step. The Add Action panel lists everything BCL can do:
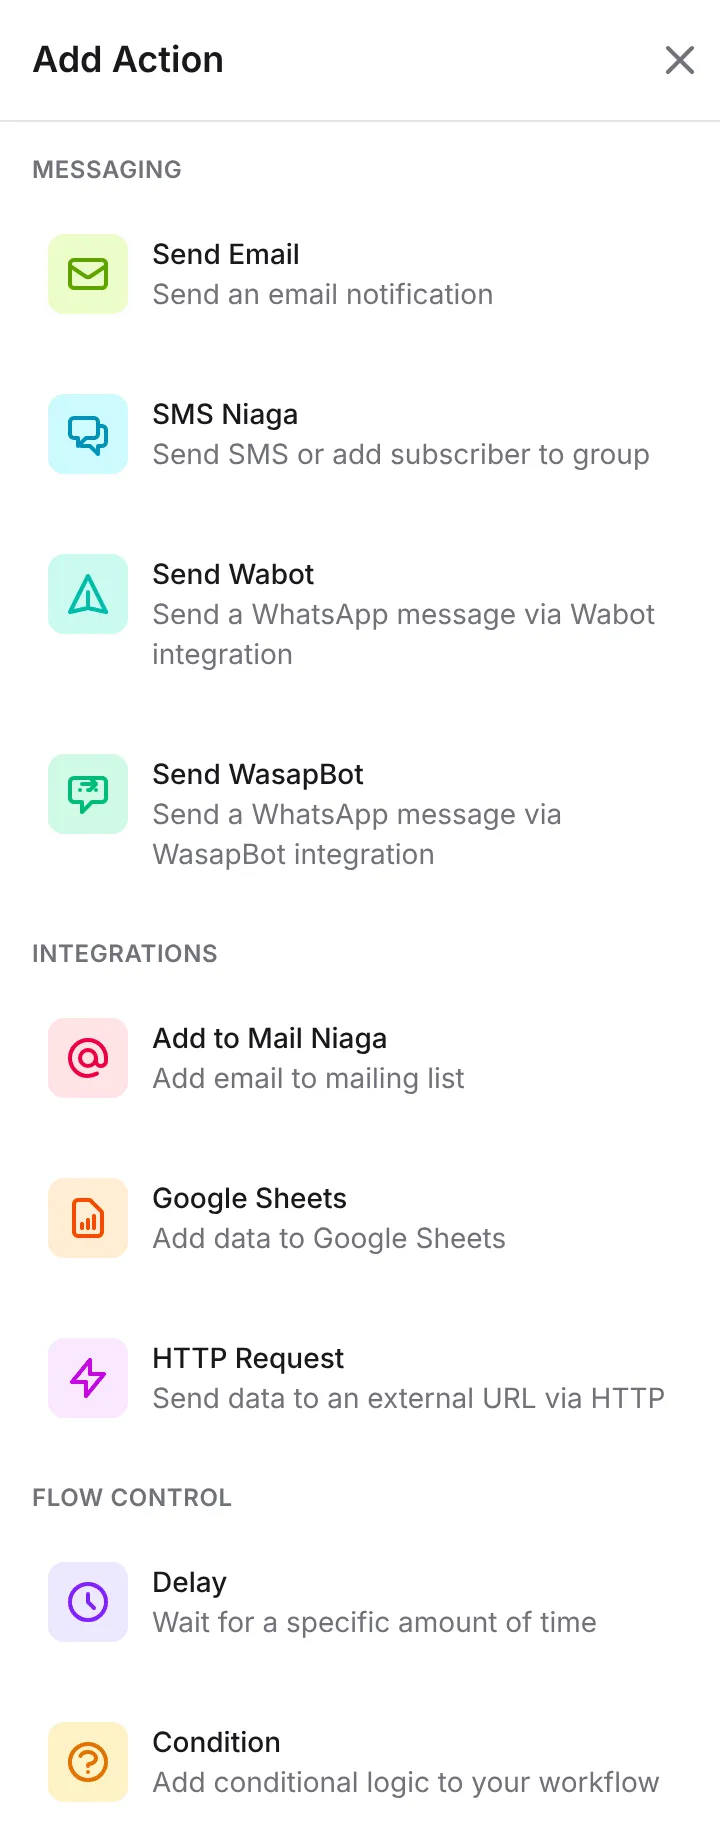
| Group | Nodes |
|---|---|
| Messaging | Send Email, SMS Niaga, Send Wabot, Send WasapBot |
| Integrations | Add to Mail Niaga, Google Sheets, HTTP Request |
| Flow Control | Delay, Condition |
WhatsApp, SMS, Mail Niaga and Google Sheets nodes need that service connected under Platform Setup → Integrations first. See Automation actions and Send data with HTTP Request.
Conditions and delays
Section titled “Conditions and delays”A Condition node checks the data from the trigger before the workflow goes on. You pick a Field, an Operator such as Equals, Contains or Greater Than (>), and a Value. With several conditions, Match Logic decides whether all of them or any of them must match. See Automation conditions.
A Delay node waits before the next step. Choose For a Specific Period and set a Duration and Time Unit (minutes, hours or days), or choose Until a Date & Time.
Variables
Section titled “Variables”Messages and fields can include details from the trigger, such as {name}, {order_number} or {amount} for payments, or {full_name:1} for a lead form field. Click Variables next to a field to pick one. See Automation variables for the full list.
A few rules keep workflows predictable:
- Choose the trigger that has the data you need. A payment that has just been initiated has no receipt yet, so send receipts and thank-yous from Payment Successful.
- Give each node a clear name. The Action Name shows on the canvas and in the execution history, so “Email sales team” is easier to check than “Send Email”.
- Test before you switch it on for all forms. Limit the trigger to one test form first, then widen it.
Common issues
Which trigger should I use to send something after a customer pays?
Payment Successful. It runs once a payment is completed successfully. Payment Initiated runs earlier, when the customer starts paying, before you know whether the payment worked.
Can one automation have two triggers?
No. Each automation has exactly one trigger. Make a second automation for the other event.
Can I wait a day before sending a reminder?
Yes. Put a Delay node before the action. It can wait a set time, such as 1 day, or until a date and time.
Was this article helpful?
Thanks for your feedback.
Sorry this didn't help. WhatsApp us and we'll sort it out with you.